
Windows 11 Home vs. Pro: Bridging the Gap with Free Alternatives
Microsoft offers Windows 11 in two primary editions: Home and Professional. While Windows 11 Home caters to the average user, the Pro edition is often favored by businesses due to its integration capabilities with company network infrastructures, particularly Active Directory. The Home edition lacks this feature, making it less suitable for environments with Windows servers.
However, private users shouldn’t dismiss the Pro edition entirely. It includes several features that offer tangible benefits to everyone. Upgrading to Pro involves a fee, but is it always necessary? This article explores how to replicate many of the Pro edition’s features for free, effectively bridging the gap between the two. You can even unlock a couple of Pro features within the Home edition itself.
Let’s delve into the key differences between the Home and Pro editions, focusing on aspects relevant to private users, and examine free software alternatives that can enhance the Home experience.
Encryption: Bitlocker and Beyond
One significant distinction lies in drive encryption. Windows 11 Home traditionally lacked Bitlocker, Microsoft’s built-in drive encryption tool. This meant users couldn’t encrypt their system drives directly. However, they could integrate encrypted external drives or USB sticks, provided the encryption was performed on a Pro or Enterprise edition machine.
If you don’t have access to a Pro or Enterprise version, a virtual PC can be used to create an encrypted drive.
To use Bitlocker on an external drive via another computer follow these steps:
- Go to "Settings" (Win-I), search for Bitlocker, and click "Manage Bitlocker."
- Select the desired drive and click "Activate Bitlocker."
- Choose the "Use password to unlock the drive" option and create a strong password.
- Save the recovery key in a file (crucial for data recovery if you forget the password).
After that, it can be plugged into your Home edition machine and used as normal.
But this has changed with Windows 11 24H2 Home! Microsoft has added "Device encryption" using Bitlocker as the foundation but with fewer options than the Pro edition. Using this feature requires logging in with a Microsoft account.
To activate "Device encryption":
- Go to "Settings," then "Privacy and security," then "Device encryption."
- Activate the toggle.
- Save the associated recovery key, which can be found at account.microsoft.com/devices/recoverykey.
If "Device encryption" isn’t displayed, it likely means your system doesn’t meet the minimum requirements for Windows 11. Ensure that TPM and Secure Boot are enabled in your PC’s firmware settings.
If you are not comfortable using Bitlocker or device encryption, Veracrypt is an alternative. It is open-source and multi-platform compatible, so you can use it on Windows, Linux, and macOS. It provides similar encryption capabilities and can be used to create encrypted drives that work across these operating systems.
Veracrypt is not as seamlessly integrated into the Windows system as Bitlocker. It is somewhat more complicated to use and requires a password entry upon every Windows restart. Given that Veracrypt only asks for the password on a restart, and not when reactivating after "Sleep," a complex password exceeding 20 characters is recommended.
If that is too much for you, encrypt only the files that are important to protect as suggested in point 5 further down.
Here’s how to encrypt your system partition using Veracrypt:
Step 1: Backup Your Data
Before you start, create a complete backup of your Windows partition or, at the very least, your important files. If power is lost during encryption, the files could become unreadable. Also, have a FAT32-formatted USB drive handy with at least 5 MB of free space.
Step 2: Start Veracrypt Encryption Process
In Veracrypt, navigate to "System > Encrypt system partition/system drive." Follow the instructions of the wizard, accepting the default settings in most cases.
When entering the password, be aware that the Veracrypt bootloader uses the U.S. keyboard layout. Enable the "Show password" box to verify the entry.
Step 3: Create a Rescue Data Carrier
The wizard will prompt you to create a rescue disk. Veracrypt will save a "VeraCrypt Rescue Disk.zip" file in your “Documents” folder. Extract its contents and copy the "EFI" folder to your FAT32-formatted USB drive. Click "Next," and the wizard will verify the presence of the folder.
Step 4: Pre-Test the Encryption
In the "System encryption pre-test" step, click "Test." Print out the instructions provided and click "Yes" to restart your PC. Enter the password when prompted. If the password is not accepted, press Esc to revert to the unencrypted hard drive. Otherwise, Windows will start after password entry and then click "Encrypt." Veracrypt will then start the encryption process, which may take some time. A window will inform you of the progress.
Step 5: Boot from the Rescue Drive (Optional)
Modify the boot sequence in your firmware setup to boot from the rescue drive. The rescue system offers options to repair the Veracrypt boot loader, load an alternative boot loader, or decrypt the system partition.
Comparison of Encryption Methods
While Bitlocker is tightly integrated, Veracrypt, an open-source solution, offers transparency as its source code can be audited. Veracrypt is not as smoothly integrated into the system as Bitlocker. However, neither method guarantees absolute security; choosing one often comes down to trust.
Encrypting Specific Files with Veracrypt
To encrypt only the files that are truly worth protecting, create an encrypted container file using Veracrypt to store them. The file can be stored on any drive.
Step 1: Create New Volume
In Veracrypt, go to "Volume > Create new volume." Select the first option, "Create encrypted container file," and click "Next" twice.
Step 2: Specify Storage Location
Click "File" to choose the storage location and file name. Follow the wizard’s instructions.
Step 3: Set Volume Password
In the "Volume password" window, create a strong password with at least 20 characters. Tick "Show password" to verify the entry.
Step 4: Create a Key File (Optional)
For enhanced security, create a key file alongside the password. Tick "Use key file," click "Key files," and then "Create key file(s)." Move the mouse to generate entropy. Give the key file a name, save it to a USB stick, and add it to the container. The container will be inaccessible without the key file or the key file in combination with the password.
Step 5: Mount the Volume
In the Veracrypt main window, choose a free drive letter, navigate to "Volume > Select file," and specify the file created in Step 2. Then click "Volume > Mount volume" and enter the password, and specify your key file.
Step 6: Add to Favorites (Optional)
Right-click on the (virtual) drive in the Veracrypt main window and select "Add to favorites" in the context menu. Check the box "Mount selected volume at login" and confirm. Then, enter the password after you log in to Windows.
You can specify the same key file when creating further data containers.
Virtualization: Virtualbox
The Pro edition includes Hyper-V, Microsoft’s built-in virtualization platform. However, Virtualbox, an open-source alternative, is available for free on all Windows editions. Virtualbox offers comparable functionality, allowing you to run different operating systems within virtual machines.
To set up a virtual machine, click the “New” button to start the Virtualbox setup wizard. Enter the ISO image with the installation system, specify the operating system, and the RAM and virtual hard drive size.
To achieve optimized graphics performance, install the guest extensions in the virtual machine by going to “Devices > Insert guest extensions”.
Remote Access: Rustdesk
The Pro edition offers Remote Desktop Connection for accessing your computer remotely. Rustdesk is a free, open-source solution. It works without needing a firewall configuration and is encrypted.
To use it the person seeking help needs to provide their ID and password. Then, the other person can establish the connection, which needs confirmation by the other person.
To conveniently use Rustdesk, install it. This enables unattended access to a computer, which requires setting a password in the settings under “Security.”
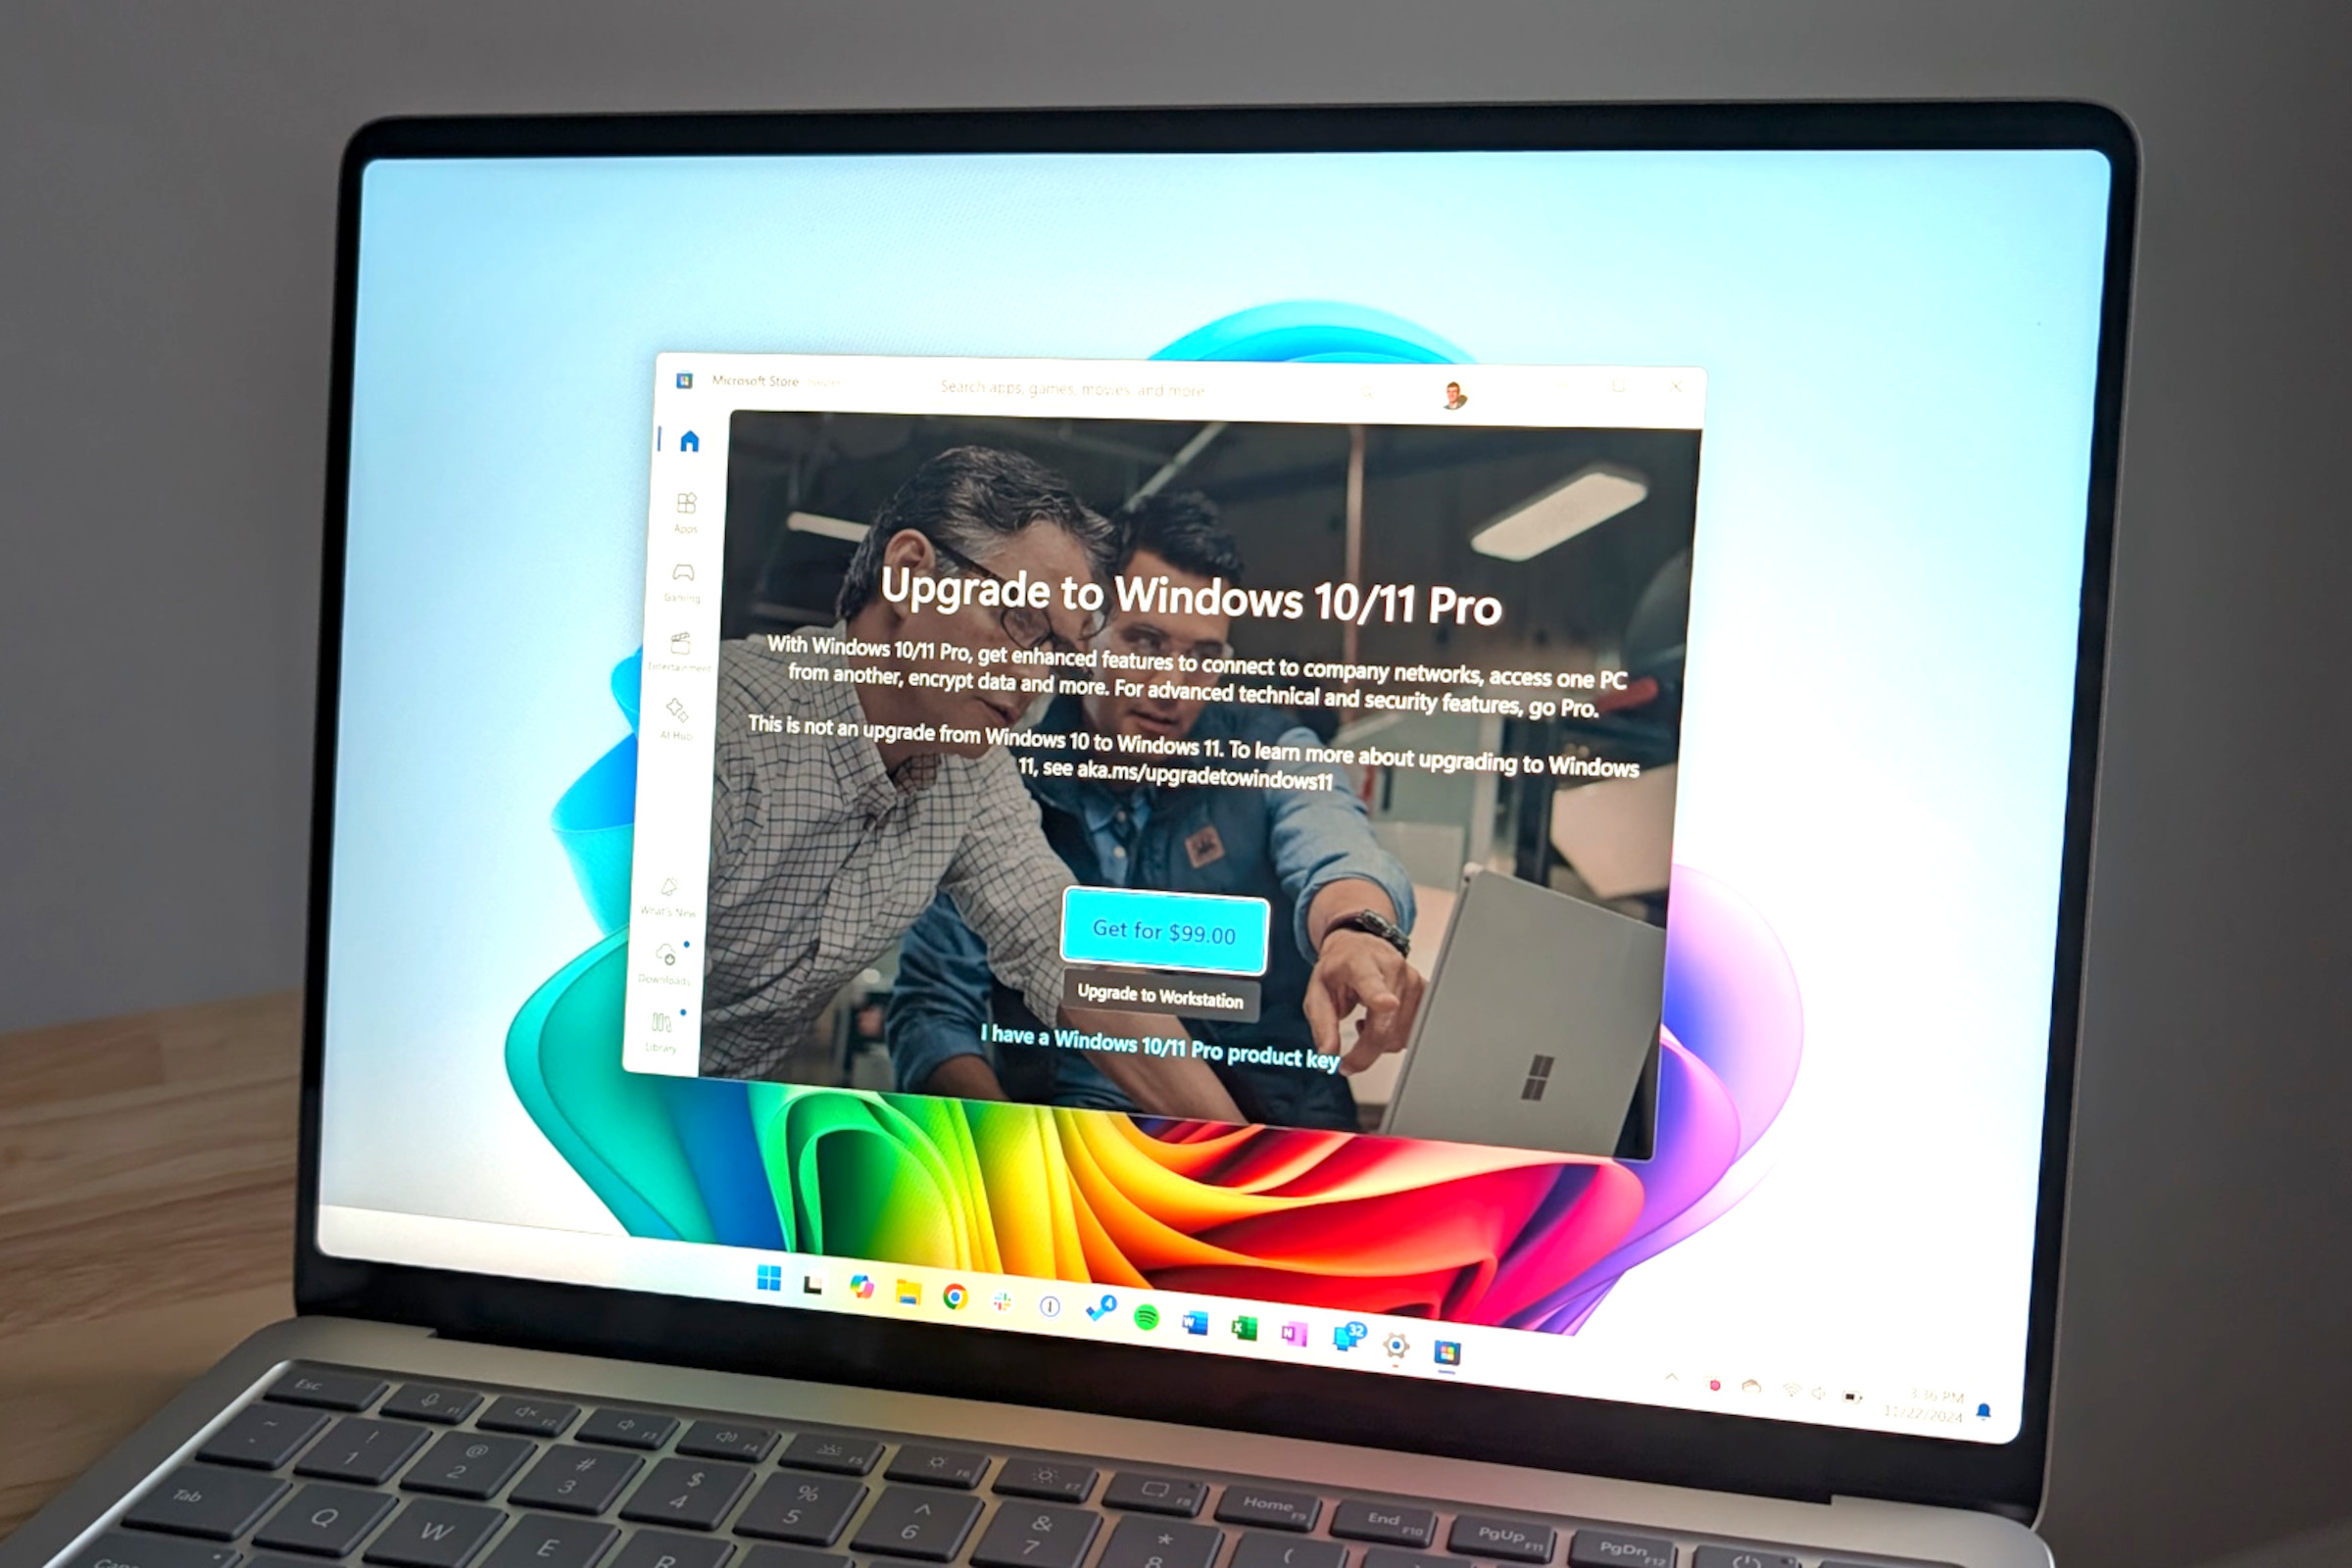
Upgrading to Pro: An Option to Consider
If you find that these free alternatives don’t fully meet your needs, upgrading to Windows 11 Pro is an option. Microsoft charges for the upgrade.
To upgrade, go to "System" in the "Settings" under Windows 11, click "Activation," and then "Update Windows Edition." Click "Change" after "Change product key" and enter the new product key.
Conclusion
While Windows 11 Pro offers specific features that may be attractive, many of its functionalities can be replicated for free using alternative software. Whether it’s encryption, virtualization, or remote access, open-source tools like Veracrypt, Virtualbox, and Rustdesk provide robust solutions without the added cost. Even unlocking device encryption on the Home edition. Before upgrading to Pro, consider whether these free alternatives sufficiently address your needs.