
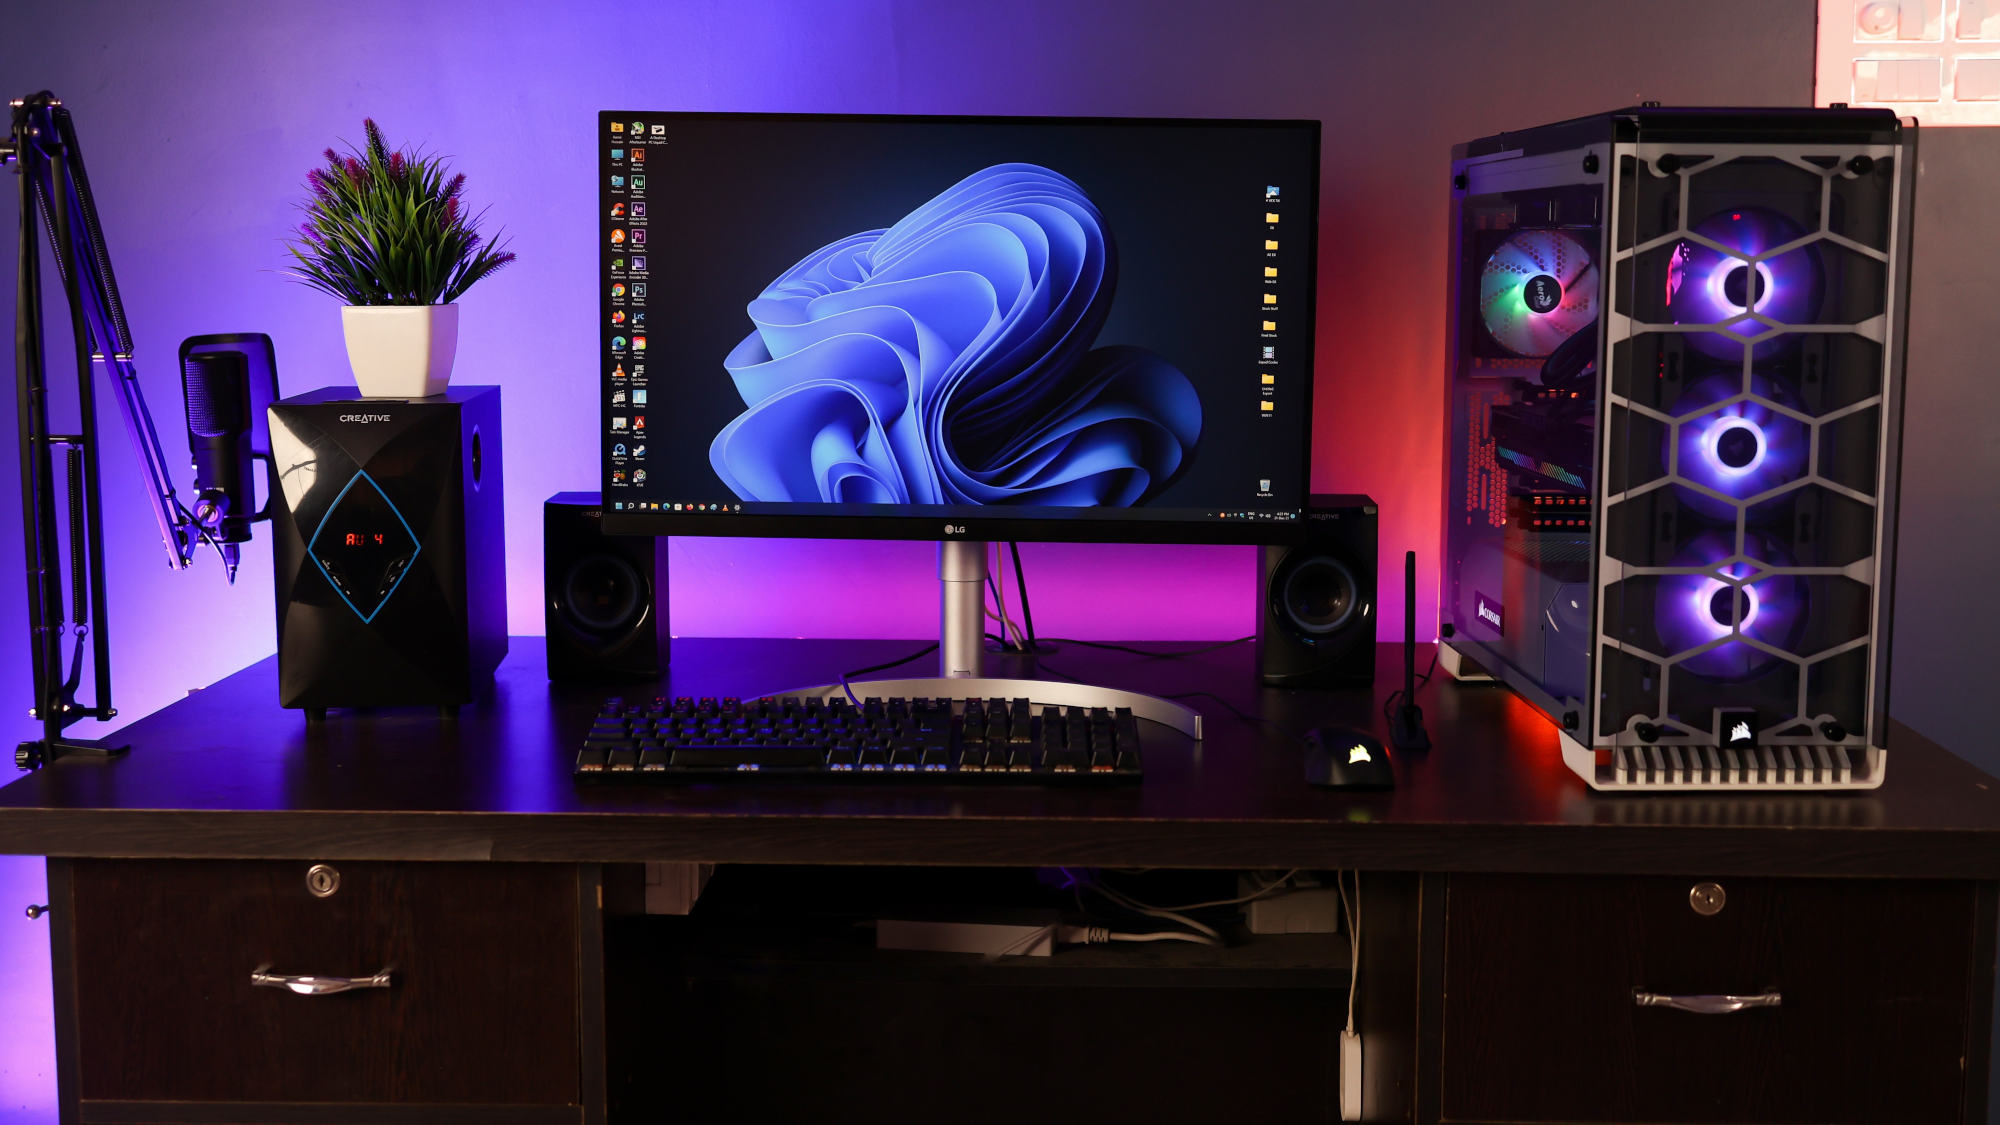
Upgrading to Windows 11: A Comprehensive Guide
Windows 10 has enjoyed remarkable stability and popularity, leading many users to hesitate before embracing Windows 11. Despite its 2021 launch, Windows 10 remains the dominant operating system for a significant portion of users. However, time is running out for Windows 10. Microsoft will cease providing regular updates in October 2025. Post that date, only paying customers enrolled in the Extended Security Update (ESU) program will receive security patches.
If you’re among those reluctantly considering the move to Windows 11, you’re not alone. The good news is the transition isn’t as daunting as you might think. Windows 11 shares many similarities with its predecessor, and while there are some notable changes, it’s far from the catastrophic overhaul that Windows 8 represented. This guide will walk you through the process of safely upgrading to Windows 11 and getting acquainted with its new features.
Preparing for the Upgrade
Before initiating the installation, it’s essential to verify that your computer meets the minimum system requirements for Windows 11.
An easy way to assess compatibility is to ensure all available updates are installed in Windows 10. If your system meets the requirements, the Windows Update section in Settings will offer the option to upgrade to Windows 11.
Alternatively, you can download and run the PC Health Check program. If your computer fails to meet the criteria, the program will identify the specific shortcomings, allowing you to determine if they can be addressed without requiring new hardware. In some cases, it might be as simple as enabling the TPM module in the BIOS settings.
The minimum system requirements include:
- 64-bit processor with a clock speed of at least 1 GHz
- 4 GB of RAM
- 64 GB of storage
- UEFI firmware with Secure Boot support (though not necessarily enabled)
- TPM 2.0
- A display with a resolution of at least 720p
- An internet connection
With the release of version 24H2, slightly higher processor requirements have been introduced. For Intel, an eighth-generation Core processor or later (or its Celeron/Atom/Xeon equivalent) is required. For AMD, a second-generation Ryzen or third-generation Threadripper processor (or its Epyc equivalent) is necessary. Some Zen-based Athlon chipsets are also supported.
Backing Up Your System
Prior to upgrading, it’s highly recommended to create a full system backup, often referred to as a "clone backup." This allows you to easily revert to Windows 10 if any issues arise during the installation process or if you find Windows 11 unsuitable.
Several programs can create a clone of your hard drive. R-Drive Image is a popular choice with a comprehensive set of features. For a free option, EaseUS is a strong contender. However, be aware that some users have reported difficulties booting from a pre-made clone, so it’s crucial to test the backup before proceeding with the upgrade.
Update or Clean Install?
A recurring question with each new Windows release is whether to upgrade the existing system or perform a clean installation.
Some users believe that a clean install results in a faster and more stable system with fewer bugs. Others argue that upgrading is quicker and more convenient, as it avoids the need to reinstall applications and reconfigure settings.
If you’re uncertain, the best approach is to create a solid backup and attempt an upgrade first. If the upgrade proceeds smoothly, you’ll be up and running with Windows 11 much faster. In the unlikely event of encountering problems, you can always perform a clean installation afterward.
Performing the Upgrade
There are two primary methods for upgrading to Windows 11 without having to redo anything after installation. The simplest is to use Windows Update in Settings and allow the system to handle the upgrade automatically. This process resembles a major regular update, such as the release of Windows 10 22H2. The computer will restart several times during the installation, but otherwise, it’s a seamless experience.
If the upgrade option is not offered in Windows Update, or if you prefer a manual approach, you can download an ISO file containing the latest version of Windows 11 and install from it. There is no need to create installation media on a USB stick. Simply double-click the ISO file in Explorer, navigate to the mounted disc image, and run the Setup.exe program.
The installer will perform several checks before presenting a dialog box where you can choose what to keep. The default option is to retain everything—files, installed programs, and settings.
You can also choose to keep only files. However, since this requires reinstalling programs and reconfiguring system settings, it’s often more efficient to perform a clean installation and then restore personal files from the backup.
The Clean Install Option
If you have ample time and desire a clean, optimized system, a clean installation is worth considering. Over time, Windows accumulates unnecessary files, settings, caches, downloaded updates, and remnants of old programs, which can impact performance and stability.
Reformatting and starting from scratch frees up disk space and creates a more streamlined system. By selectively installing only the necessary programs, you can achieve a "lighter" and more responsive experience.
A full backup is absolutely essential for a clean install. Verify that you can boot from the backup and that all critical files are present.
Use an ISO file of the latest Windows 11 version and Microsoft’s installation media creation tool to create a bootable USB drive. Boot your computer from the USB drive and, at the disk selection step, reformat the drive where you intend to install Windows.
If you have multiple SSDs or hard drives, it’s crucial to select the correct one. Consider disconnecting all drives except the target drive to avoid confusion.
Post-Installation Setup
After the upgrade or clean installation, the first startup of Windows 11 presents a series of dialog boxes regarding location services and data collection preferences. You can customize these settings according to your privacy preferences.
Next, the system will prompt you to "complete the installation," which is Microsoft’s attempt to promote Edge as the default browser and enable OneDrive backup, among other things. Carefully review and select only the desired options. To disable this "helpful" dialog box in the future, navigate to Settings > System > Notifications > Additional settings and uncheck the relevant options.
The desktop will appear with the Taskbar located at the bottom. The Start menu and application icons are now centered, but you can move them back to the left if preferred.
The Start menu has been redesigned. Windows 11 version 24H2 includes the option to display all installed programs in a list instead of a grid, accessible by clicking the "All apps" button at the top right. Unfortunately, there is no way to make this the default view.
The Taskbar also exhibits different behavior. Multiple open windows within a program are no longer displayed as separate icons. Instead, hovering the pointer over the program icon reveals the individual open windows. To revert to the previous behavior, go to Settings > Personalization > Taskbar > Taskbar Behaviors and set "Combine taskbar buttons and hide labels on other taskbars" to "Never." You can also left-align the Taskbar in the same menu.
Notable Changes in Windows 11
Several other changes may require adjustment:
- The toolbar and context menu in Explorer have been redesigned, with common commands presented as icons. The context menu now displays titles alongside the icons, addressing initial user feedback.
- The Action Center, which previously combined notifications, quick settings, and shortcuts, has been replaced with a new notification view.
- The method for setting default programs for various file and link types has been revised. Navigate to Settings > Apps > Default apps, click on an application, and a list of associated file types will appear. You can also search for file extensions or link types and change the default application.
- The Microsoft Store has improved and now offers a wider selection of desktop programs. It’s worth checking the store before resorting to downloading directly from developers’ websites.
- Microsoft’s AI chatbot is now integrated directly into Windows, replacing Cortana.
- The Settings app features a permanent list of categories on the left, simplifying navigation. The search function is also effective for locating specific settings.
Rolling Back to Windows 10
If you upgraded to Windows 11 using Windows Update, you can easily revert to Windows 10 directly within Settings. Go to System > Recovery and click "Go back." Follow the instructions and allow the process to complete.
If the "Go back" option is missing, it may be because you didn’t upgrade via Windows Update, you’ve run System Cleanup after the upgrade, or too much time has elapsed since the upgrade.
In such cases, you can restore your old installation using the clone backup you created before upgrading. However, this will overwrite any newer files, so it’s advisable to create another backup of the current system before restoring the clone.
The ease of rolling back to Windows 10 using the "Go back" feature strengthens the argument for attempting an upgrade to Windows 11 before resorting to a clean installation.