
Building Your Own Router/Firewall with Opnsense: A Comprehensive Guide
Do you enjoy tinkering with computers and dream of tackling a more ambitious project? Consider building your own router/firewall. Stepping up to a router that runs a more advanced operating system on more powerful hardware than standard consumer models opens a realm of possibilities. While there’s a learning curve and the initial setup might seem complex, you’ll find that it simplifies tasks that are either impossible or exceedingly difficult with routers from brands like Asus.
The landscape of operating systems for custom routers is diverse. Options range from Openwrt, which can also be installed on some consumer routers, to various Linux-based systems like Clear OS and IP Fire, and Unix-based systems such as PF Sense and Opnsense. Anders Lundberg, the author, favors the latter two, and having used Opnsense for several years, he’s chosen it as the focus of this guide.
Why Build Your Own Router?
Many enthusiasts will answer with a simple "Because it’s possible, interesting, and instructive." However, the motivation goes beyond mere curiosity. There are significant practical and technical advantages to building your own router.
Once you grasp the basics, advanced tasks become surprisingly easy. You can effortlessly set up multiple VLANs with distinct firewall rules to isolate smart home devices, preventing them from accessing the internet or other parts of your network. Dynamic DNS configuration becomes straightforward, allowing you to access your home network remotely even with a dynamic IP address. Running your own recursive DNS server enhances privacy and security. You can even display a custom welcome message to guests who connect to your Wi-Fi network.
Arguably, the most compelling benefit is enhanced security. Instead of depending on a manufacturer to release updates sporadically and hoping they keep your router secure, you’ll receive updates almost weekly, ensuring that all system components are protected by the latest security fixes. Furthermore, add-ons provide more sophisticated network protection than is typically found in consumer routers.
Hardware Considerations
You can repurpose an old computer for Opnsense, requiring only one or two network cards. However, these older machines tend to be power-hungry and bulky, making them difficult to place discreetly.
Opnsense is based on the FreeBSD Unix system, making it somewhat more particular about hardware compared to Linux. Network cards are the primary concern. The system prefers and performs best with Intel-based cards. If you’re purchasing new hardware, consider selecting a computer with Intel networking chips.
A mini PC with two Ethernet connectors is often a better choice. In fact, some computers are designed specifically for use with Opnsense or PF Sense. The Hunsn model available on Amazon, for example, costs around $200 and includes Intel networking chips. Given the affordability of memory, 16 gigabytes of RAM is recommended, along with at least 128 gigabytes of SSD storage.
In addition to the router computer, a managed switch is highly recommended. This allows you to connect your old router and configure it as a simple access point for Wi-Fi. A managed switch is also essential if you intend to use virtual networks (VLANs).
Installation Process
-
Download Opnsense and Balena Etcher: Start by downloading the latest version of Opnsense. Then, download and install Balena Etcher, a user-friendly program for writing
.isoand.imgfiles to USB drives. -
Prepare the USB Drive: Unzip the downloaded
.bz2file to obtain an.imgfile. Insert a USB stick, launch Etcher, click "Flash from file," and select the.imgfile. Choose your USB stick as the target and click "Flash." -
Boot from USB: Once the flashing process is complete, eject the USB drive and connect it to the router computer. Ensure you have a monitor and keyboard connected. Boot the computer from the USB stick via the boot menu or BIOS.
-
Initial Configuration: The system will boot into a text-based interface. After the initial messages scroll past, you’ll reach a login prompt. Enter the username
installerand the passwordopnsense. This will start the installation program. -
Installation Steps:
- Select your preferred keyboard language.
- Choose "Install (ZFS)," the recommended installation method.
- Select "Stripe" for disk partitioning.
- Use the space bar to select your target SSD.
- Accept the prompts to format the disk and copy the files.
- Choose "Complete Install."
-
Reboot and Login: After the installation finishes and the router computer reboots, remove the USB stick and allow it to boot from the SSD. Again, you’ll see text scrolling during boot. Once the login prompt appears, log in with the username
rootand the passwordopnsense. -
Change LAN Interface Address: To avoid conflicts with your existing router during the initial setup, it’s recommended to change the LAN interface address.
- Press
2to change the IP address. - Enter the number corresponding to the LAN interface (usually
1). - Press Enter to decline DHCP.
- Enter an appropriate address, such as
10.1.1.1, and then24to maintain the10.1.1.xformat. - Press Enter to accept the default options for the remaining questions.
- Press
-
Connect and Access Web Interface: Connect your Opnsense machine and your regular computer using a network cable, either directly or through a switch. On your regular computer, navigate to "Network and Internet > Ethernet" in the Settings app. You should receive an IP address in the same format as Opnsense (e.g.,
10.1.1.2), with the address you just configured as the gateway and a subnet mask of255.255.255.0. If not, manually configure these settings.Open a web browser and enter
10.1.1.1. You’ll likely see a security warning about an invalid certificate; proceed past this warning to access the Opnsense web interface. The username isroot, and the default password isopnsense. -
Basic Settings Wizard: The Opnsense guided basic settings wizard will appear.
- DNS Settings: Leave the DNS servers fields blank, untick "Override DNS," and tick the three boxes under "Unbound DNS."
- Click through the remaining steps until you reach the password change prompt. Choose a strong, new password for the
rootaccount and record it securely.
-
Connect to the Internet: Connect an Ethernet cable to Opnsense to provide internet access. You can move the cable from your old router’s broadband socket to Opnsense, or connect to a port on your old router or a switch (this method requires additional configuration).
If you have a DHCP-based broadband connection, Opnsense should automatically connect and acquire an external IP address. Verify this by navigating to "Interfaces > Overview" in the web interface.
-
Test the Connection: If the WAN interface has an address, test the internet connection by checking for updates. Go to "System > Firmware > Status" and click "Check for updates." If successful, install any available updates.
Finally, try accessing a website from your regular computer. If the website loads, you have a functioning Opnsense router. The default settings are generally safe, so further configuration can be deferred.
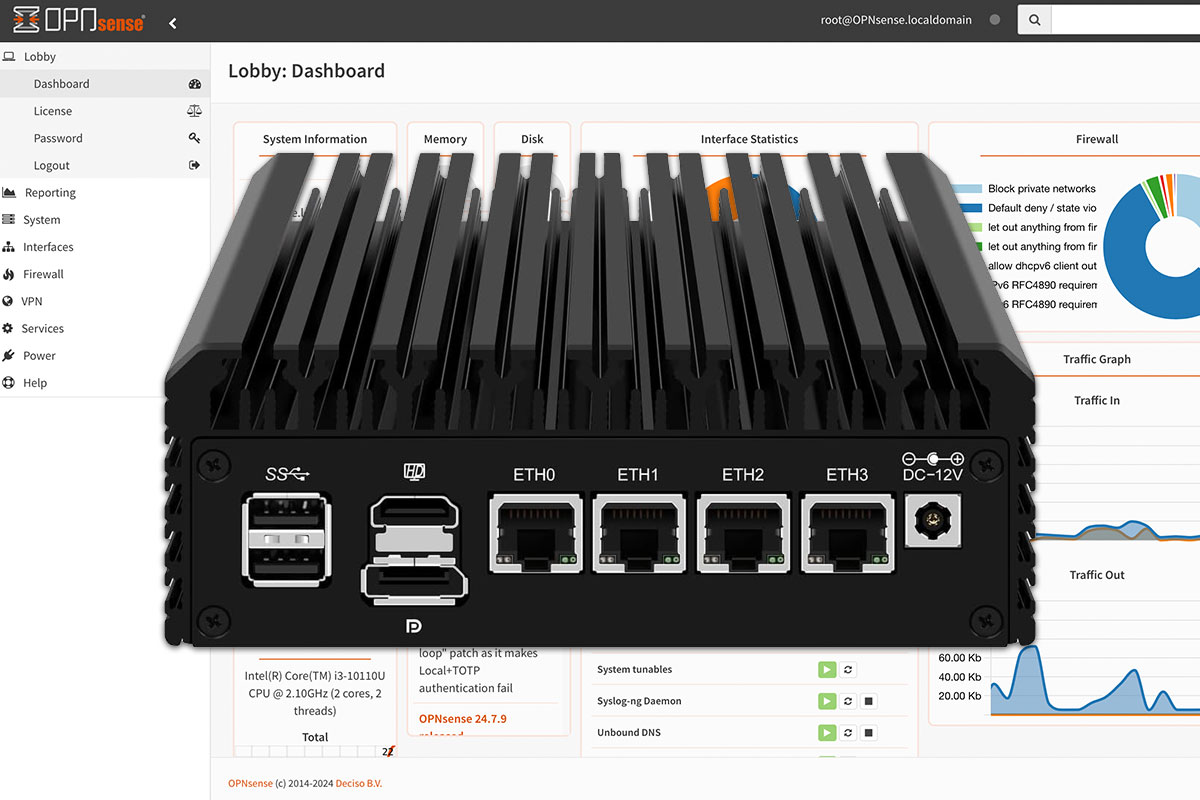
Navigating the Opnsense Web Interface
The Opnsense web interface is organized differently from most consumer routers. A hierarchical menu on the left provides access to all settings, categorized logically. A search bar in the top-right corner allows you to quickly locate specific settings, even those buried deep within the menu structure.
- System: Contains settings for Opnsense itself, including updates and plugin installation. Plugins are a crucial feature for extending the router’s capabilities.
- Interfaces: Manages network interfaces, including LAN and WAN, as well as VLANs, PPPoE (if required by your internet provider), and VPN server interfaces.
- Firewall: Configures traffic rules, port forwarding, and aliases for devices, making them easier to reference in firewall rules.
- VPN: Manages VPN servers for remote access to your network and VPN clients for connecting your entire network to an external VPN service.
- Services: A collection of built-in functions like DHCP and DNS (Unbound), as well as functions provided by installed plugins.
Creating a VLAN for Smart Home Devices
A common application for advanced routers like Opnsense is isolating connected devices on separate networks with distinct firewall rules. For example, you can create a network for smart home gadgets with no internet access and limited access to the rest of your network.
-
Create the VLAN: Navigate to "Interfaces > Other Types > VLAN." Click the plus button to create a new VLAN. Assign a short, descriptive name (e.g., "SMART") and a VLAN tag number between 1 and 4094 (e.g., 10). Save.
-
Assign the Interface: Go to "Interfaces > Assignments." Enter the same name as the VLAN under "Description" for the new interface. Click "Add."
-
Configure the Interface: Click "Interfaces > [SMART]." Tick "Enable Interface" and "Prevent interface removal." Select "Static IPv4" under "IPv4 Configuration Type." Scroll to the bottom and enter a suitable IP address (e.g.,
10.1.10.1) and select24for the subnet mask. Save and apply the changes. -
Enable DHCP: Go to "Services > ISC DHCPv4 > [SMART]." Tick "Enable DHCP server…" and specify an address range (e.g.,
10.1.10.100-10.1.10.254). Save and apply the changes. -
Firewall Rules: Navigate to "Firewall > Rules > SMART." Initially, there will be no rules, blocking all traffic. To allow internet access for smart home devices, you need to create a rule permitting outbound traffic.
-
Connect Devices: To connect devices to the VLAN, you’ll need a managed switch. In the switch’s settings, enable VLAN tagging for specific Ethernet ports. Devices connected to these ports will only "see" the VLAN network. Alternatively, if your Opnsense machine has multiple network connectors, you can "tag" these and use them instead.
Seeking Help and Resources
If you encounter difficulties, numerous resources are available. The Home Network Guy blog provides extensive guides on Opnsense, covering everything from installation to advanced topics like VLANs. The blog also has a valuable YouTube channel. On Reddit, support is available in groups like r/opnsense and r/homelab.
Virtual Machine Testing
If you’d like to experiment with Opnsense without committing to a physical computer, you can use a virtual machine (VM). Virtualbox, for instance, allows you to run Opnsense directly in Windows, enabling you to familiarize yourself with the interface and configuration process. You can also run Opnsense more permanently on a server computer running Linux, often using Proxmox.