
Maintaining Your Wooden Windows: A Comprehensive Guide
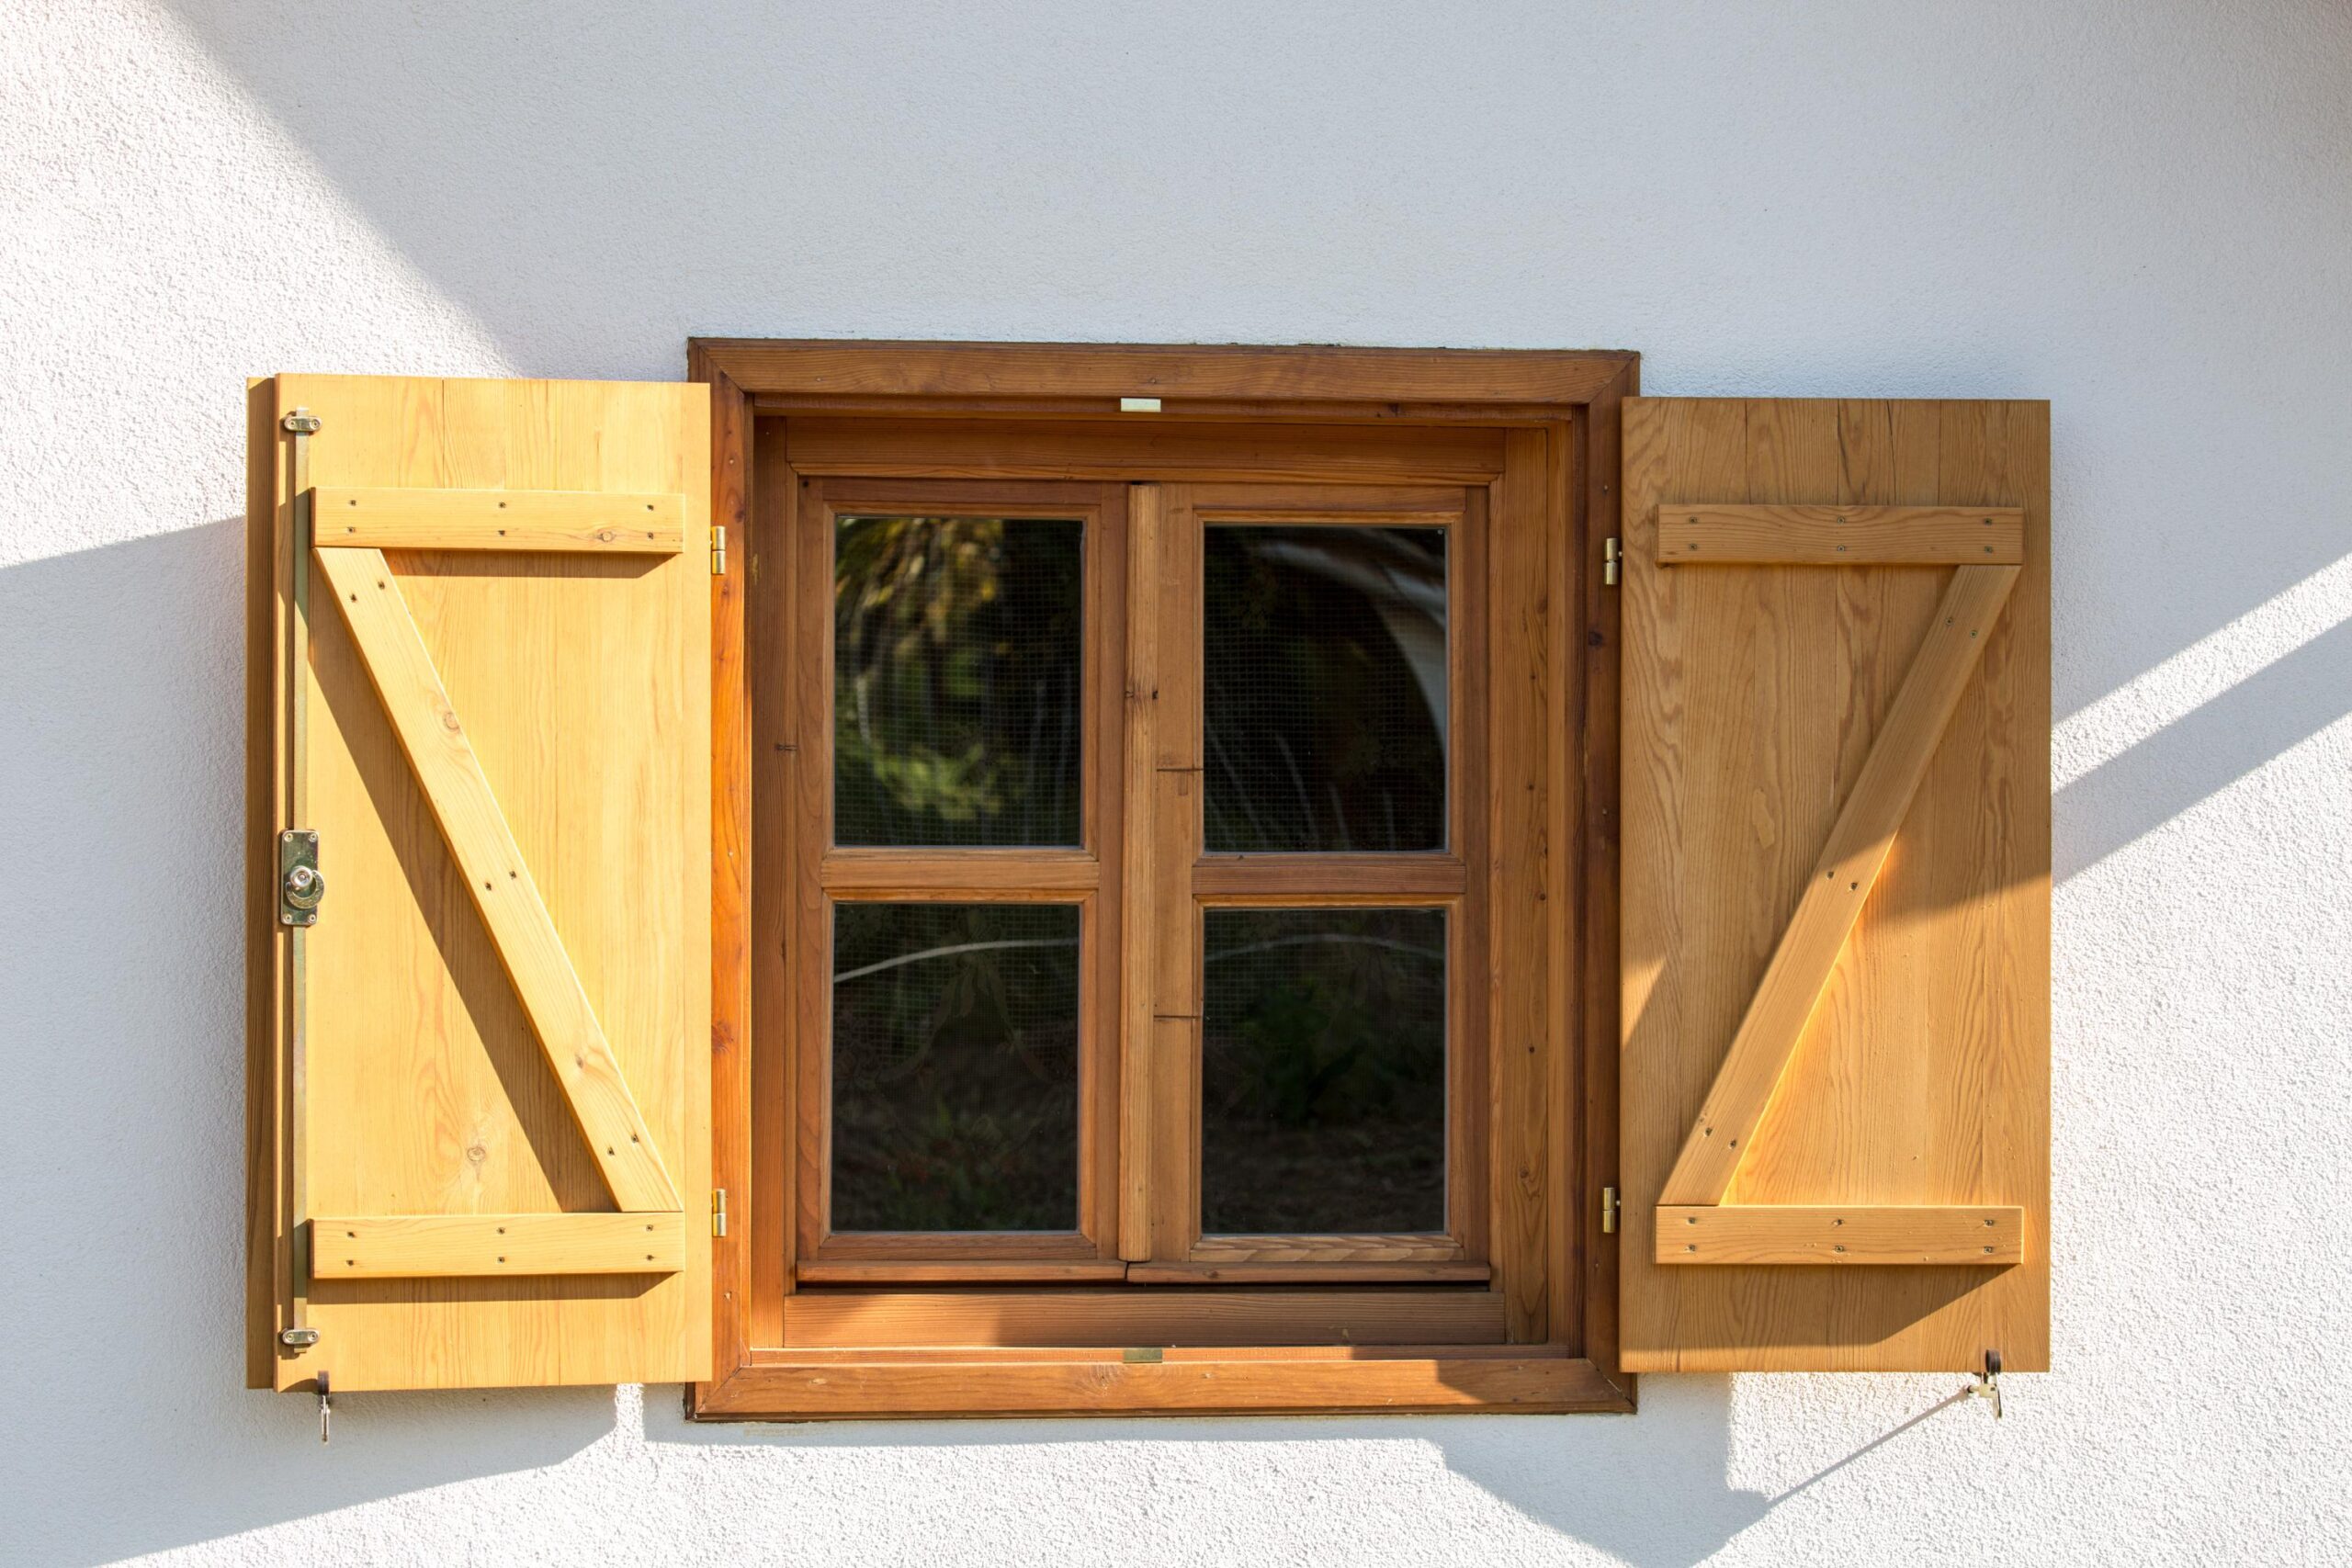
Wooden windows possess a timeless appeal, lending a touch of natural beauty and character to any home. However, unlike their vinyl or aluminum counterparts, wooden windows require periodic maintenance to preserve their aesthetic charm and ensure their longevity. Neglecting these windows can lead to paint peeling, wood rot, and ultimately, costly replacements. This guide provides a detailed walkthrough of how to properly maintain your wooden windows, covering everything from preparation to post-painting care.
Assessing the Condition of Your Windows
Before embarking on any maintenance project, it’s crucial to thoroughly assess the condition of your windows. This will help you determine the scope of work required and the specific materials you’ll need.
Begin by visually inspecting the wood for signs of damage. Look for cracks, splinters, rot, or evidence of insect infestation. Pay close attention to the areas most exposed to the elements, such as the bottom rails and corners. Check the condition of the paint or stain. Is it peeling, blistering, or fading?
Also, examine the window’s functionality. Does it open and close smoothly? Are there any gaps or drafts around the edges? These issues can indicate problems with the window’s seals, hinges, or other hardware.
When to Repaint Your Windows
The frequency with which you need to repaint your wooden windows depends on several factors, including the climate, the type of paint used, and the level of maintenance performed. As a general rule, you should plan to repaint your windows every three to five years.
If you live in an area with harsh weather conditions, such as frequent rain, intense sun, or extreme temperatures, you may need to repaint your windows more often. Similarly, if you notice signs of paint failure, such as peeling or fading, it’s time to repaint, regardless of how long it’s been since the last coat.
Regular cleaning and touch-up painting can help extend the life of your paint job and reduce the need for frequent repainting.
Preparing Your Windows for Painting
Proper preparation is essential for a successful paint job. It ensures that the paint adheres properly to the wood and provides a smooth, durable finish.
-
Remove the Window (Optional): For ease of access and comfort, it’s highly recommended to remove the window sash from the frame. This allows you to work on a flat, stable surface. Place the sash horizontally on a workbench or table covered with a drop cloth or newspaper to protect the surface.
-
Protect Surrounding Areas: Before you start working, protect the surrounding areas from paint splatters. Use painter’s tape to mask off the glass, trim, and any other surfaces you don’t want to paint.
-
Clean the Window: Thoroughly clean the window to remove any dirt, dust, or debris. Use a mild detergent and water to wash the surface, then rinse with clean water and allow it to dry completely.
-
Remove Loose Paint: Use a paint scraper or wire brush to remove any loose or peeling paint. Be careful not to damage the wood underneath.
-
Sand the Surface: Sand the entire surface of the window with medium-grit sandpaper to create a smooth, even surface for the paint to adhere to. Sand in the direction of the wood grain.
-
Repair any Damage: Address any wood damage before painting. Fill cracks, holes, or rot with wood filler. Allow the filler to dry completely, then sand it smooth.
-
Treat for Insects (Optional): Consider applying a wood preservative to protect against termites and other wood-boring insects. Follow the manufacturer’s instructions carefully.
-
Dust and Prime: Remove all sanding dust with a tack cloth or vacuum cleaner. Apply a coat of primer to the window. Primer helps the paint adhere better and provides a uniform base color. Allow the primer to dry completely before proceeding.
Painting Your Wooden Windows
Now that your windows are properly prepared, you can begin painting.
-
Choose the Right Paint: Select a high-quality exterior paint specifically designed for wood. Consider the climate in your area and choose a paint that is resistant to fading, cracking, and mildew. Oil-based paints are durable but can be more difficult to work with. Latex paints are easier to apply and clean up but may not be as durable. Consult with a paint professional for advice on the best paint for your specific needs.
-
Stir the Paint: Thoroughly stir the paint to ensure that the pigments are evenly distributed.
-
Apply the First Coat: Use a brush or roller to apply a thin, even coat of paint to the window. Work in the direction of the wood grain. Avoid applying too much paint, as this can lead to drips and runs.
-
Allow to Dry: Allow the first coat of paint to dry completely, according to the manufacturer’s instructions. This may take several hours or even overnight.
-
Apply a Second Coat: Apply a second coat of paint in the same manner as the first. This will provide better coverage and durability.
-
Consider Varnish: If you prefer a natural wood look, consider applying a coat of clear polyurethane varnish instead of a second coat of paint. Varnish will protect the wood while allowing its natural grain to show through.
-
Check Local Regulations: Before painting, check with your local municipality to see if there are any regulations regarding paint colors or historical preservation.
Post-Painting Care
Once the paint is dry, carefully remove the painter’s tape. Reinstall the window sash in the frame, ensuring that it opens and closes smoothly.
To maintain the beauty and durability of your painted windows, follow these tips:
- Clean Regularly: Clean your windows regularly with a mild detergent and water to remove dirt and grime.
- Touch Up Paint: Touch up any chips or scratches in the paint as soon as possible to prevent further damage.
- Apply Annual Protective Coat: Consider applying a thin coat of paint or varnish each year to protect the wood from the elements and prevent water damage.
By following these steps, you can ensure that your wooden windows remain beautiful and functional for many years to come. Regular maintenance will not only enhance the appearance of your home but also protect your investment and prevent costly repairs.