
Extending Your System C Drive in Windows: A Comprehensive Guide
Is your computer feeling sluggish lately? Are you constantly bombarded with "Low Disk Space" warnings? The culprit is often a full or near-full C drive. Your C drive, typically where Windows and your core programs reside, is crucial for optimal system performance. When it runs out of space, it can significantly impact your computer’s speed, prevent important updates from installing, and even lead to crashes. This guide will walk you through several tried-and-true methods to extend your system C drive in Windows 11, 10, 8, 7, Vista, and XP.
Before diving into the solutions, it’s essential to understand why extending your C drive is so important. Think of your C drive as the engine room of your computer. It needs space to breathe, to process data, and to function efficiently. As you install applications, download files, and create documents, your C drive gradually fills up. This accumulation of data includes temporary files, application caches, system restore points, and more.
When your C drive becomes cramped, your computer’s performance suffers. You might experience longer boot times, slower application launches, and frustrating delays when performing everyday tasks. Moreover, a full C drive can prevent Windows from installing crucial updates, leaving your system vulnerable to security threats and software glitches. By increasing the C drive space, you ensure smoother operation, better efficiency, and protection against potential issues like system crashes and data loss.
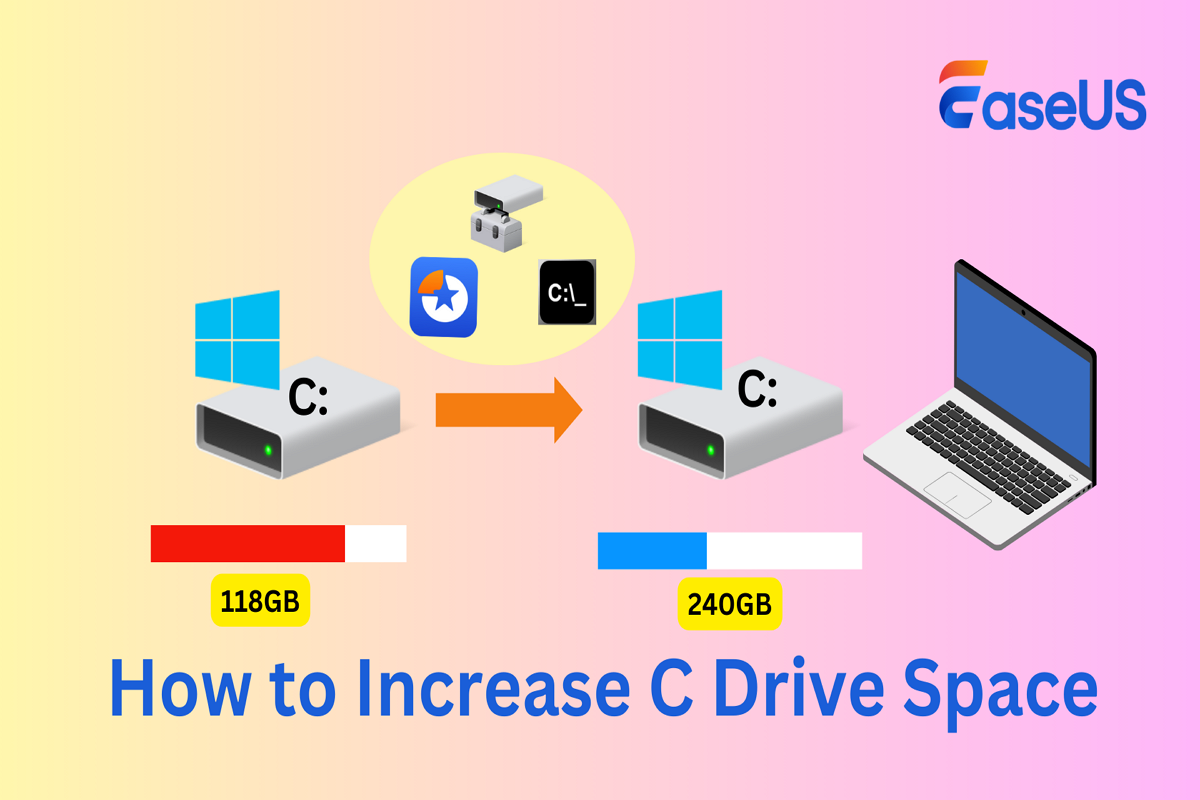
Now, let’s explore the different methods you can use to extend your C drive. We’ll cover three popular tools: EaseUS Partition Master, Disk Management (a built-in Windows utility), and Diskpart (a command-line tool).
Method 1: EaseUS Partition Master
EaseUS Partition Master is a user-friendly disk management tool designed to simplify the process of resizing, moving, and allocating space to partitions. Its key advantage is its flexibility; it allows you to extend the C drive even if there’s no adjacent unallocated space available. This is a significant benefit compared to the built-in Windows tools, which often require contiguous unallocated space.
Furthermore, EaseUS Partition Master offers a convenient "1-Click Adjust" feature. If you receive the dreaded "Low Disk Space" alert, the software will automatically detect the issue and offer to reallocate unused space from other drives to extend the C drive. This makes the process incredibly simple for even novice users.
Here’s a step-by-step guide to extending your C drive using EaseUS Partition Master:
- Download and Install: Download EaseUS Partition Master from their official website and install it on your computer.
- Launch the Program: Open EaseUS Partition Master. You’ll see a visual representation of your hard drive and its partitions.
- Allocate Space:
- Option 1: Using Adjacent Partition: Right-click on the partition next to the C drive and choose "Resize/Move". Drag the end of that partition to shrink it, creating unallocated space directly behind the C drive. Click "OK". Then, right-click on the C drive and select "Resize/Move". Drag the system partition’s right edge into the unallocated space. Click "OK".
- Option 2: Using "1-Click Adjust": Hover over the C drive in the Partition Manager tab and click "Adjust with 1-Click". Select "OK" to allow the software to automatically allocate space, or choose "Manual Adjustment" to specify the amount of space you want to add.
- Apply Changes: Click "Execute Task" and then "Apply" to commit all the changes you’ve made. The software will then proceed to resize the partitions, which may require a system restart.
EaseUS Partition Master is a powerful and safe solution for extending your C drive, offering a user-friendly interface and flexible options to suit your needs.
Method 2: Disk Management (Built-in Windows Utility)
Disk Management is a built-in utility in Windows that allows you to manage your computer’s storage devices. It can perform tasks such as creating, deleting, and resizing partitions. However, it has a significant limitation: you can only extend a partition if there is contiguous unallocated space directly behind it.
If you have unallocated space immediately following your C drive, you can use Disk Management to extend it. Here’s how:
- Open Disk Management: Press the "Windows + X" keys to open the quick access menu, and then click "Disk Management".
- Extend Volume: Right-click on the C drive and select "Extend Volume" from the menu. This will launch the Extend Volume Wizard.
- Specify Size: Follow the wizard’s instructions. You’ll be prompted to select the disk and specify the amount of space you want to add to the C drive.
- Complete the Task: Click "Next" and then "Finish" to complete the task. Disk Management will then extend the C drive using the adjacent unallocated space.
Important Note: If there is no unallocated space directly behind the C drive, the "Extend Volume" option will be greyed out, and you won’t be able to use Disk Management to extend the C drive. In this case, you’ll need to either delete the partition immediately following the C drive (which will erase all data on that partition) or use a third-party tool like EaseUS Partition Master.
Method 3: Diskpart (Command-Line Tool)
Diskpart is a powerful command-line tool in Windows for managing disks, partitions, and volumes. It offers a more advanced way to extend the C drive, but it requires caution and precision. Incorrectly using Diskpart can lead to data loss.
Similar to Disk Management, Diskpart requires contiguous unallocated space directly behind the C drive to extend it.
Here’s how to use Diskpart to extend your C drive:
- Open Command Prompt as Administrator: Press the "Windows + R" keys to open the Run dialog, type "cmd", and press "Ctrl + Shift + Enter" to run Command Prompt as administrator.
- Launch Diskpart: In the Command Prompt window, type "diskpart" and press "Enter".
- List Disks: Type "list disk" and press "Enter" to display a list of the disks on your system. Identify the disk containing your C drive.
- Select Disk: Type "select disk [disk number]" and press "Enter", replacing "[disk number]" with the actual number of the disk containing your C drive (e.g., "select disk 0").
- List Partitions: Type "list partition" and press "Enter" to display a list of the partitions on the selected disk. Identify the partition representing your C drive.
- Select Partition: Type "select partition [partition number]" and press "Enter", replacing "[partition number]" with the actual number of the C drive partition (e.g., "select partition 2").
- Extend Partition: Type "extend size=[size in MB]" and press "Enter", replacing "[size in MB]" with the amount of space you want to add to the C drive in megabytes (e.g., "extend size=10240" to add 10 GB).
- Exit Diskpart: Type "exit" and press "Enter" to exit the Diskpart utility.
- Exit Command Prompt: Type "exit" and press "Enter" to close the Command Prompt window.
After the process is finished, restart your PC and check if the C drive is larger than before.
Important Notes:
- Diskpart is case-insensitive, so you can type commands in uppercase or lowercase.
- Be extremely careful when using Diskpart, as incorrect commands can lead to data loss.
- If there is no or not enough contiguous unallocated space behind your system C drive, you’ll see this error message: "Virtual Disk Service error: There is not enough usable space for this operation." To resolve this, delete the partition behind the system partition (which will erase all data on that partition) or use EaseUS Partition Master.
Freeing Up Space on Your C Drive
In addition to extending the C drive, it’s also important to regularly free up space on the C drive to maintain optimal performance. Here are some common methods:
- Disk Cleanup: Use the built-in Disk Cleanup utility to remove temporary files, system caches, and other unnecessary data.
- Delete Temporary Files: Manually delete temporary files from the
C:\Windows\Tempand%temp%folders. - Empty the Recycle Bin: Emptying the Recycle Bin permanently deletes files that were previously moved there.
- Remove Unused Apps: Uninstall any applications you no longer use.
- Transfer Large Files to Another Drive: Move large files, such as videos, photos, and music, to another drive.
- Disable Hibernation: Hibernation creates a large file on your C drive. Disabling it can free up a significant amount of space.
Conclusion
Increasing the C drive space is essential for maintaining optimal system performance and ensuring you have enough room for Windows updates, applications, and important files. This article discussed three ways – EaseUS Partition Master, Disk Management, or Diskpart, each method offers its advantages based on your needs and technical expertise. EaseUS Partition Master is a simple and safe solution for increasing the C drive space, even when the adjacent space is unavailable, making it an ideal choice for most users. Regularly freeing up space on your C drive is also crucial for long-term performance and stability. By following the steps outlined in this guide, you can ensure that your C drive has enough space to keep your computer running smoothly and efficiently. Remember to always back up your important data before making any changes to your partitions.